Enterprise
Manage teams, API keys, and billing through a dedicated enterprise dashboard.
BLACKBOX AI Enterprise gives organizations a centralized workspace to create API keys, distribute credits, and collaborate across teams. This guide covers how to create an organisation and how to join an existing organisation as a team member.
Enterprise features require an active Enterprise plan. Contact the BLACKBOX AI sales team if you need to upgrade your account.
Create an Organisation
An organisation is the top-level workspace for your enterprise account. All API keys, credits, and team members belong to the organisation. Follow the steps below to create and configure your organisation.
1. Create the Organisation
To create an organisation:
- Open the Enterprise section in the BLACKBOX AI dashboard.
- Click Create Organisation.
- Enter your organisation name and confirm.

Once created, the organisation appears in the context switcher at the top of the dashboard, and you can start issuing keys and inviting members.
2. Create an API Key
API keys are used to authenticate requests to the enterprise endpoints. Each key is tied to the organisation and shares the organisation's credits.
To create a key:
- Inside the organisation view, click Create Key.
- Give the key a descriptive name.
- Copy the generated key and store it securely — it is shown only once.
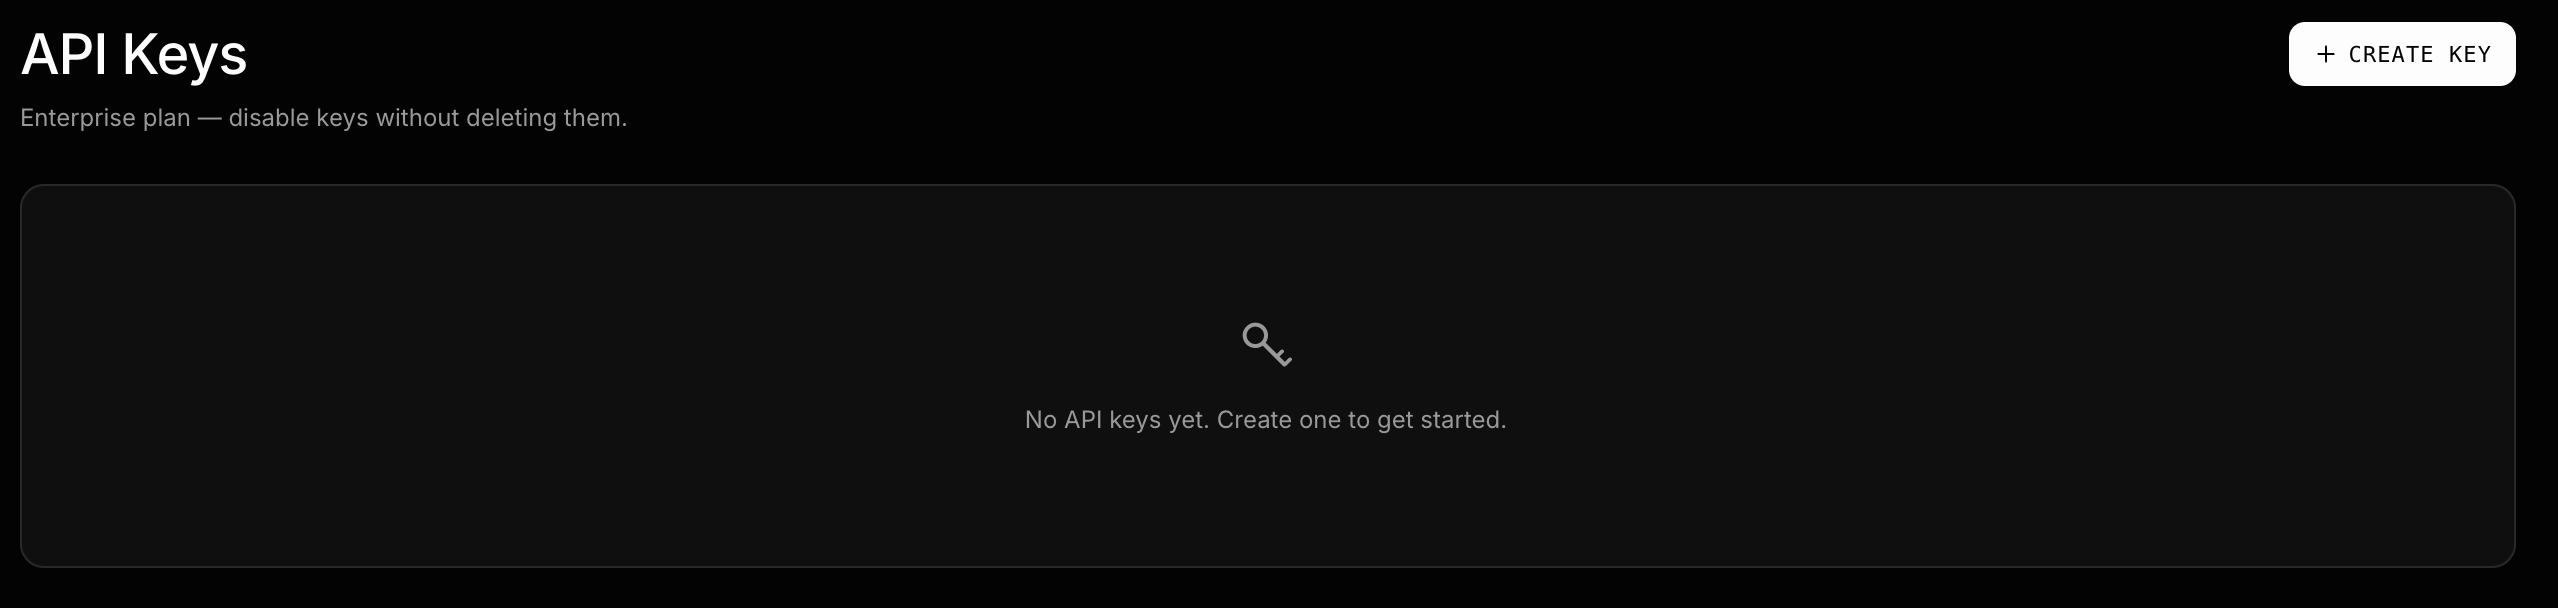
Use separate keys for different environments (e.g., production, staging, development) so you can rotate or revoke them independently.
3. Invite Team Members
Invite colleagues to join the organisation and share credits. Use the role selector to control each person's access.
To invite a member:
- Go to the Members section of your organisation.
- Enter the email address of the person you want to invite.
- Select Member from the Role dropdown.
- Click Invite.
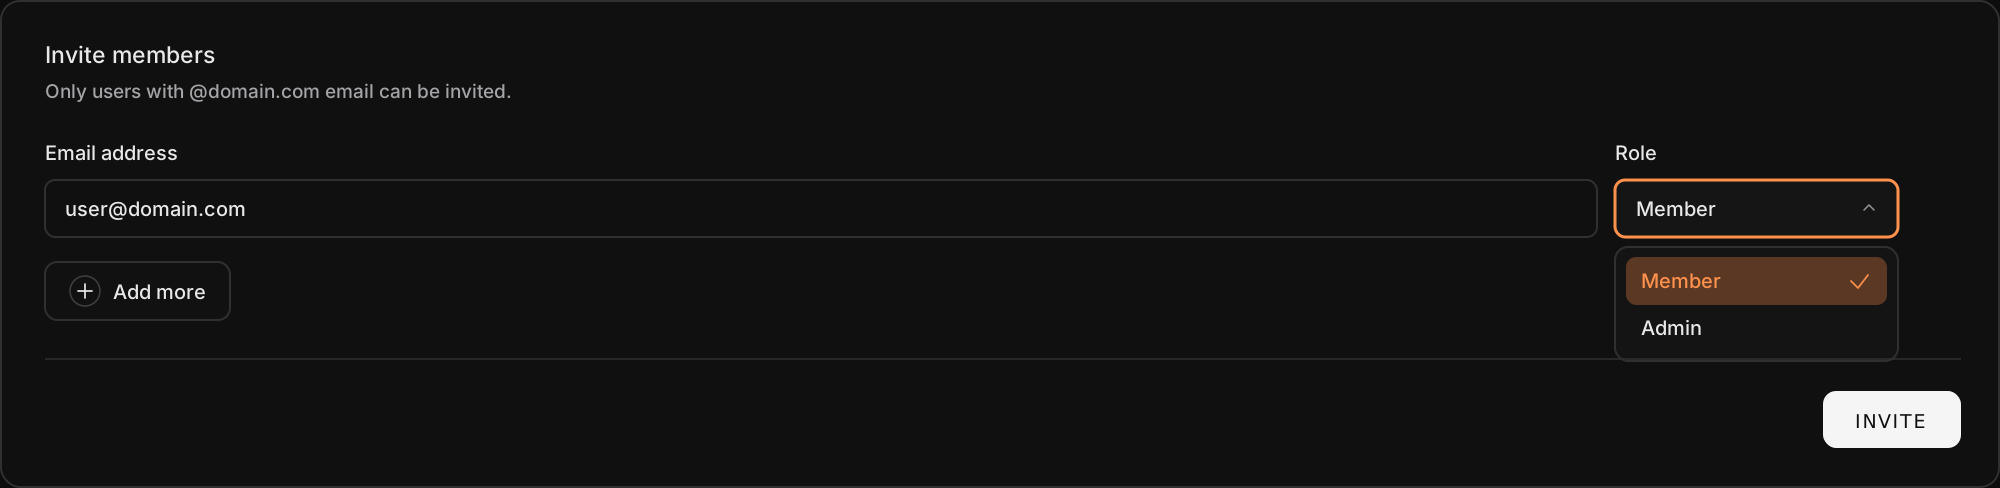
Invited members will receive an email with instructions to join the organisation. You can manage or remove members at any time from the same screen.
4. Invite a Member as an Admin
Assign the Admin role when you want to give an invited member administrative access to the organisation.
To invite an admin:
- Go to the Members section of your organisation.
- Enter the person's email address. Their email domain must match the organisation's domain.
- Open the Role dropdown and select Admin.
- Click Add more if you want to invite additional people in the same invitation.
- Click Invite.
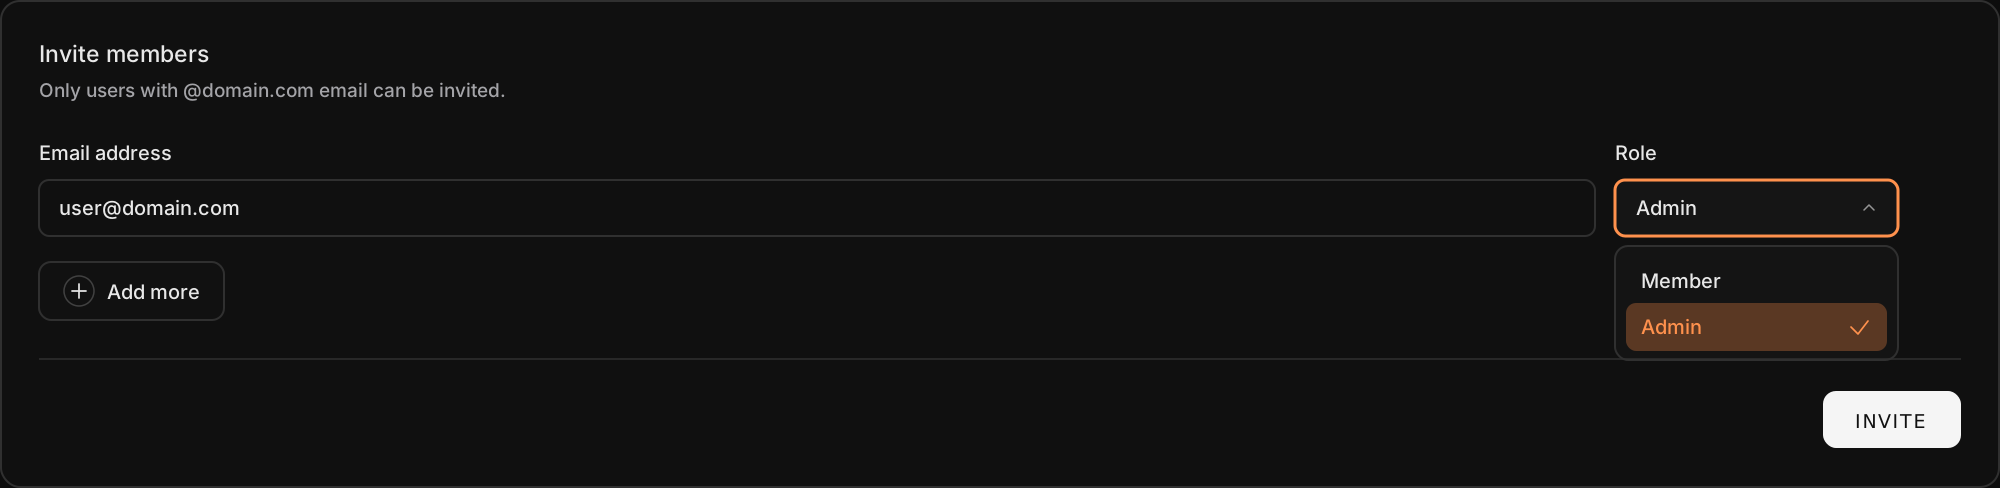
The invited person will receive an email with instructions to join the organisation as an admin.
Join an Organisation
If you receive an invitation to an organisation, you can join it directly from the BLACKBOX AI dashboard. You must use an email address that shares the same domain as the organisation.
To join an organisation:
- Sign in to the BLACKBOX AI dashboard with your work email.
- Click Join Organisation next to the organisation you were invited to.
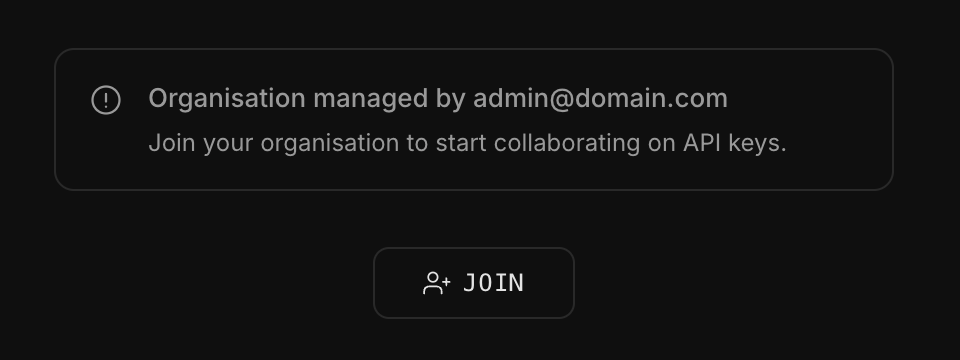
After joining, you can switch to the organisation context and start using the shared API keys and credits. If you do not see the join option, confirm that your account email matches the organisation's domain.
Organisation invitations are domain-restricted. Only users with an email address matching the organisation's domain can join.
Filter Usage by Date
Use the date filter in the enterprise usage dashboard to review activity and quota consumption for a preset period or a custom date range.
Select a Preset Date Filter
To use a preset period:
- Open the enterprise usage dashboard.
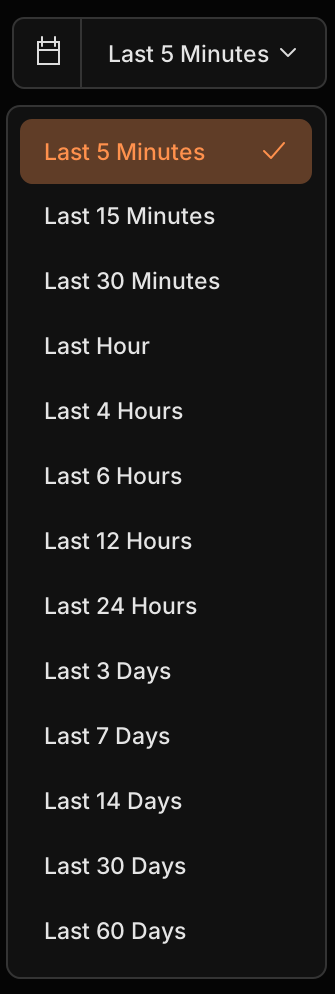
- Click the date filter in the upper-right corner.
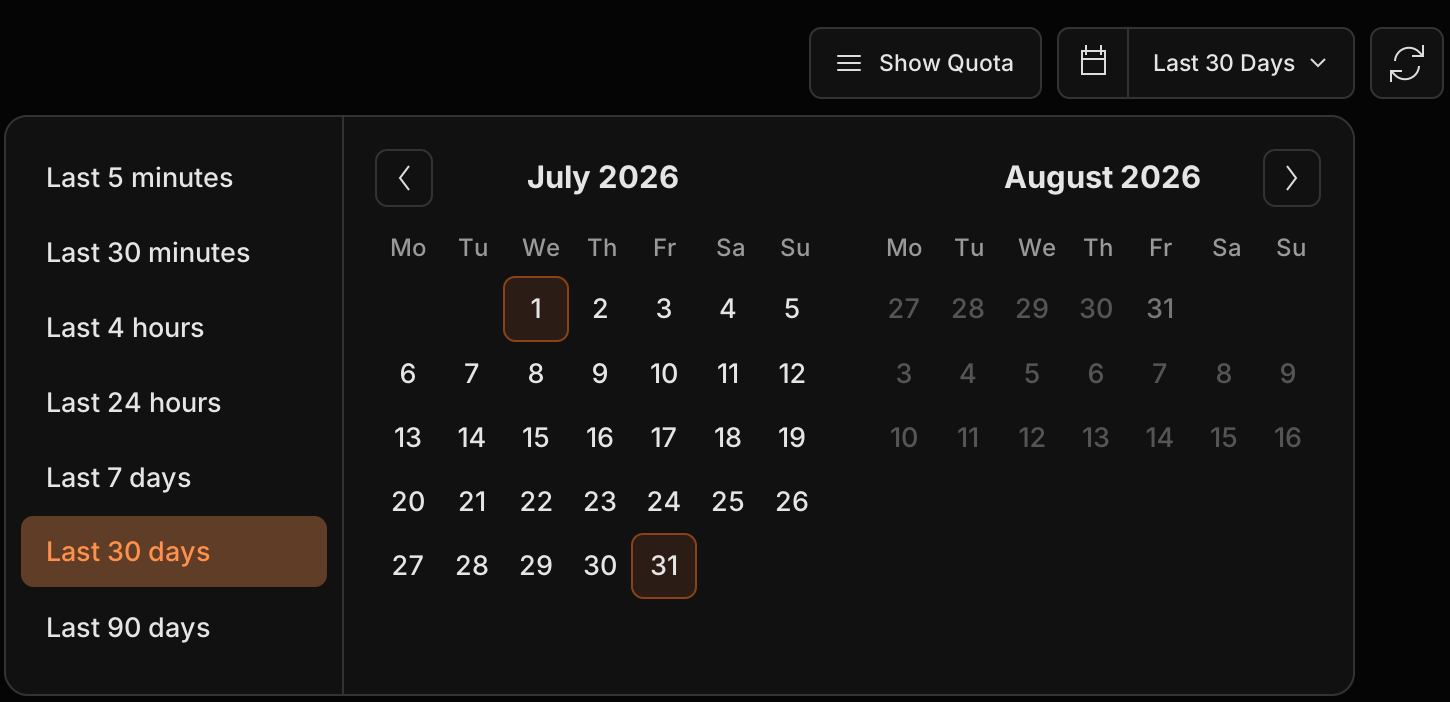
- Select a preset such as Last 30 Minutes, Last 24 Hours, Last 7 Days, or Last 30 Days.
The calendar highlights the dates included in the selected period. The active preset also appears in the left panel.
Select a Custom Date Range
To filter by your own start and end dates:
- Open the date filter.
- Use the arrow buttons to navigate between months if needed.
- Select the first date for the beginning of the range.
- Select the second date for the end of the range.
- Confirm that the selected range appears in the date filter, then click the refresh button to reload the dashboard data.
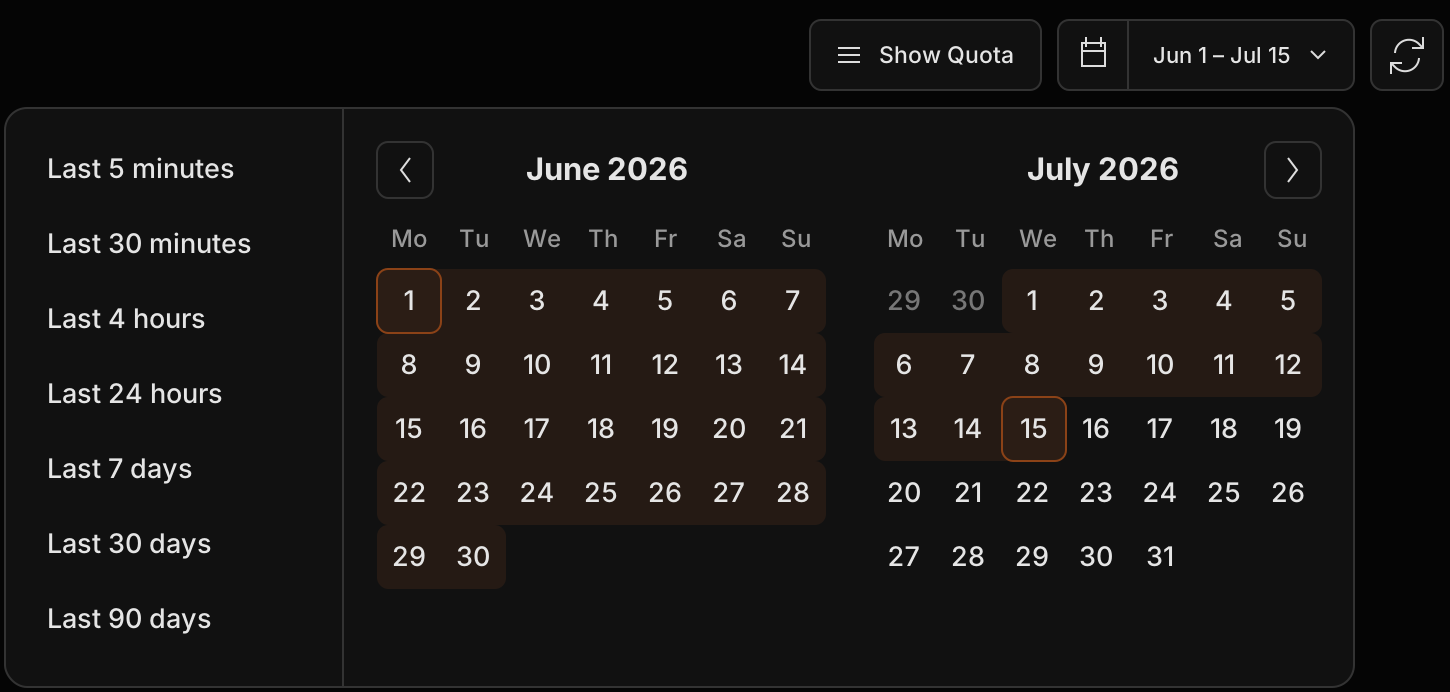
Use a preset for common reporting windows and a custom range when you need to investigate usage for specific billing or activity dates.
Restrict Access
Use an organisation access policy to control which members can make inference requests.
Choose a Restriction Mode
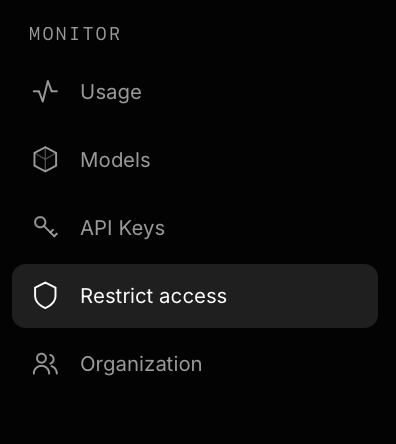
- Open Restrict access from the dashboard navigation.
- Open the Restriction mode dropdown.
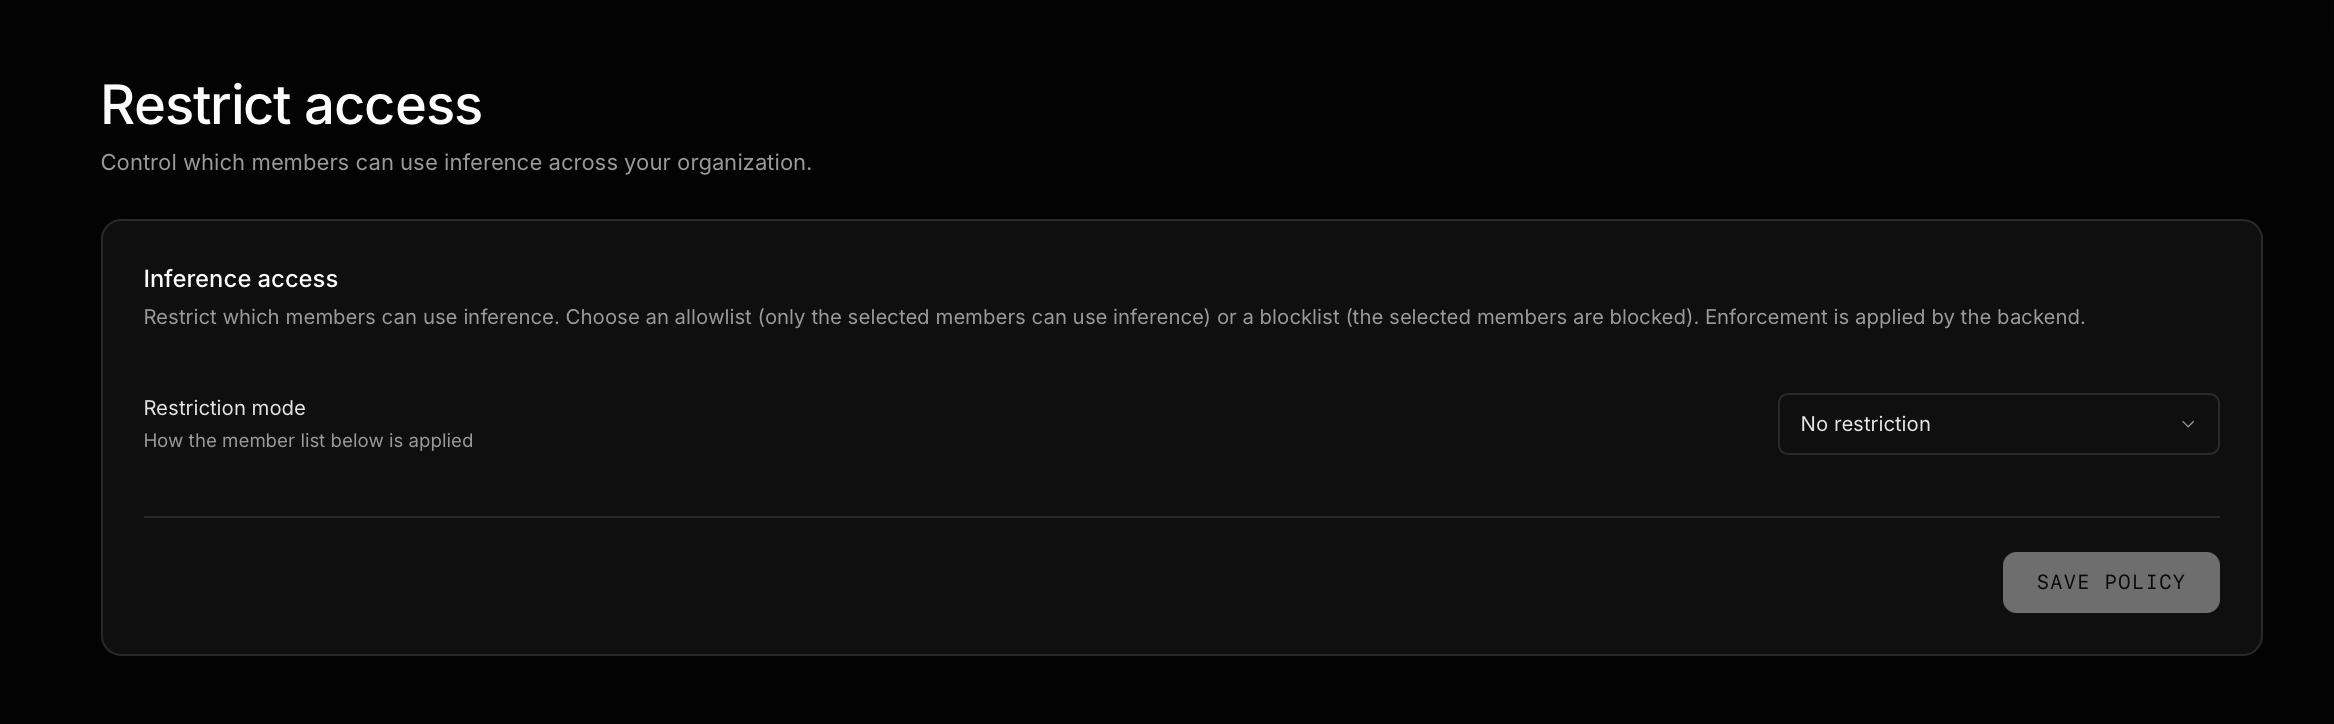
- Choose the policy that you want to apply:
- No restriction allows every organisation member to use inference.
- Allowlist allows only the selected members to use inference.
- Blocklist prevents the selected members from using inference.
Add Members and Save the Policy
After choosing Allowlist or Blocklist:
- Enter an organisation member's email address.
- Click Add. Repeat these steps for each member that you want to include in the policy.
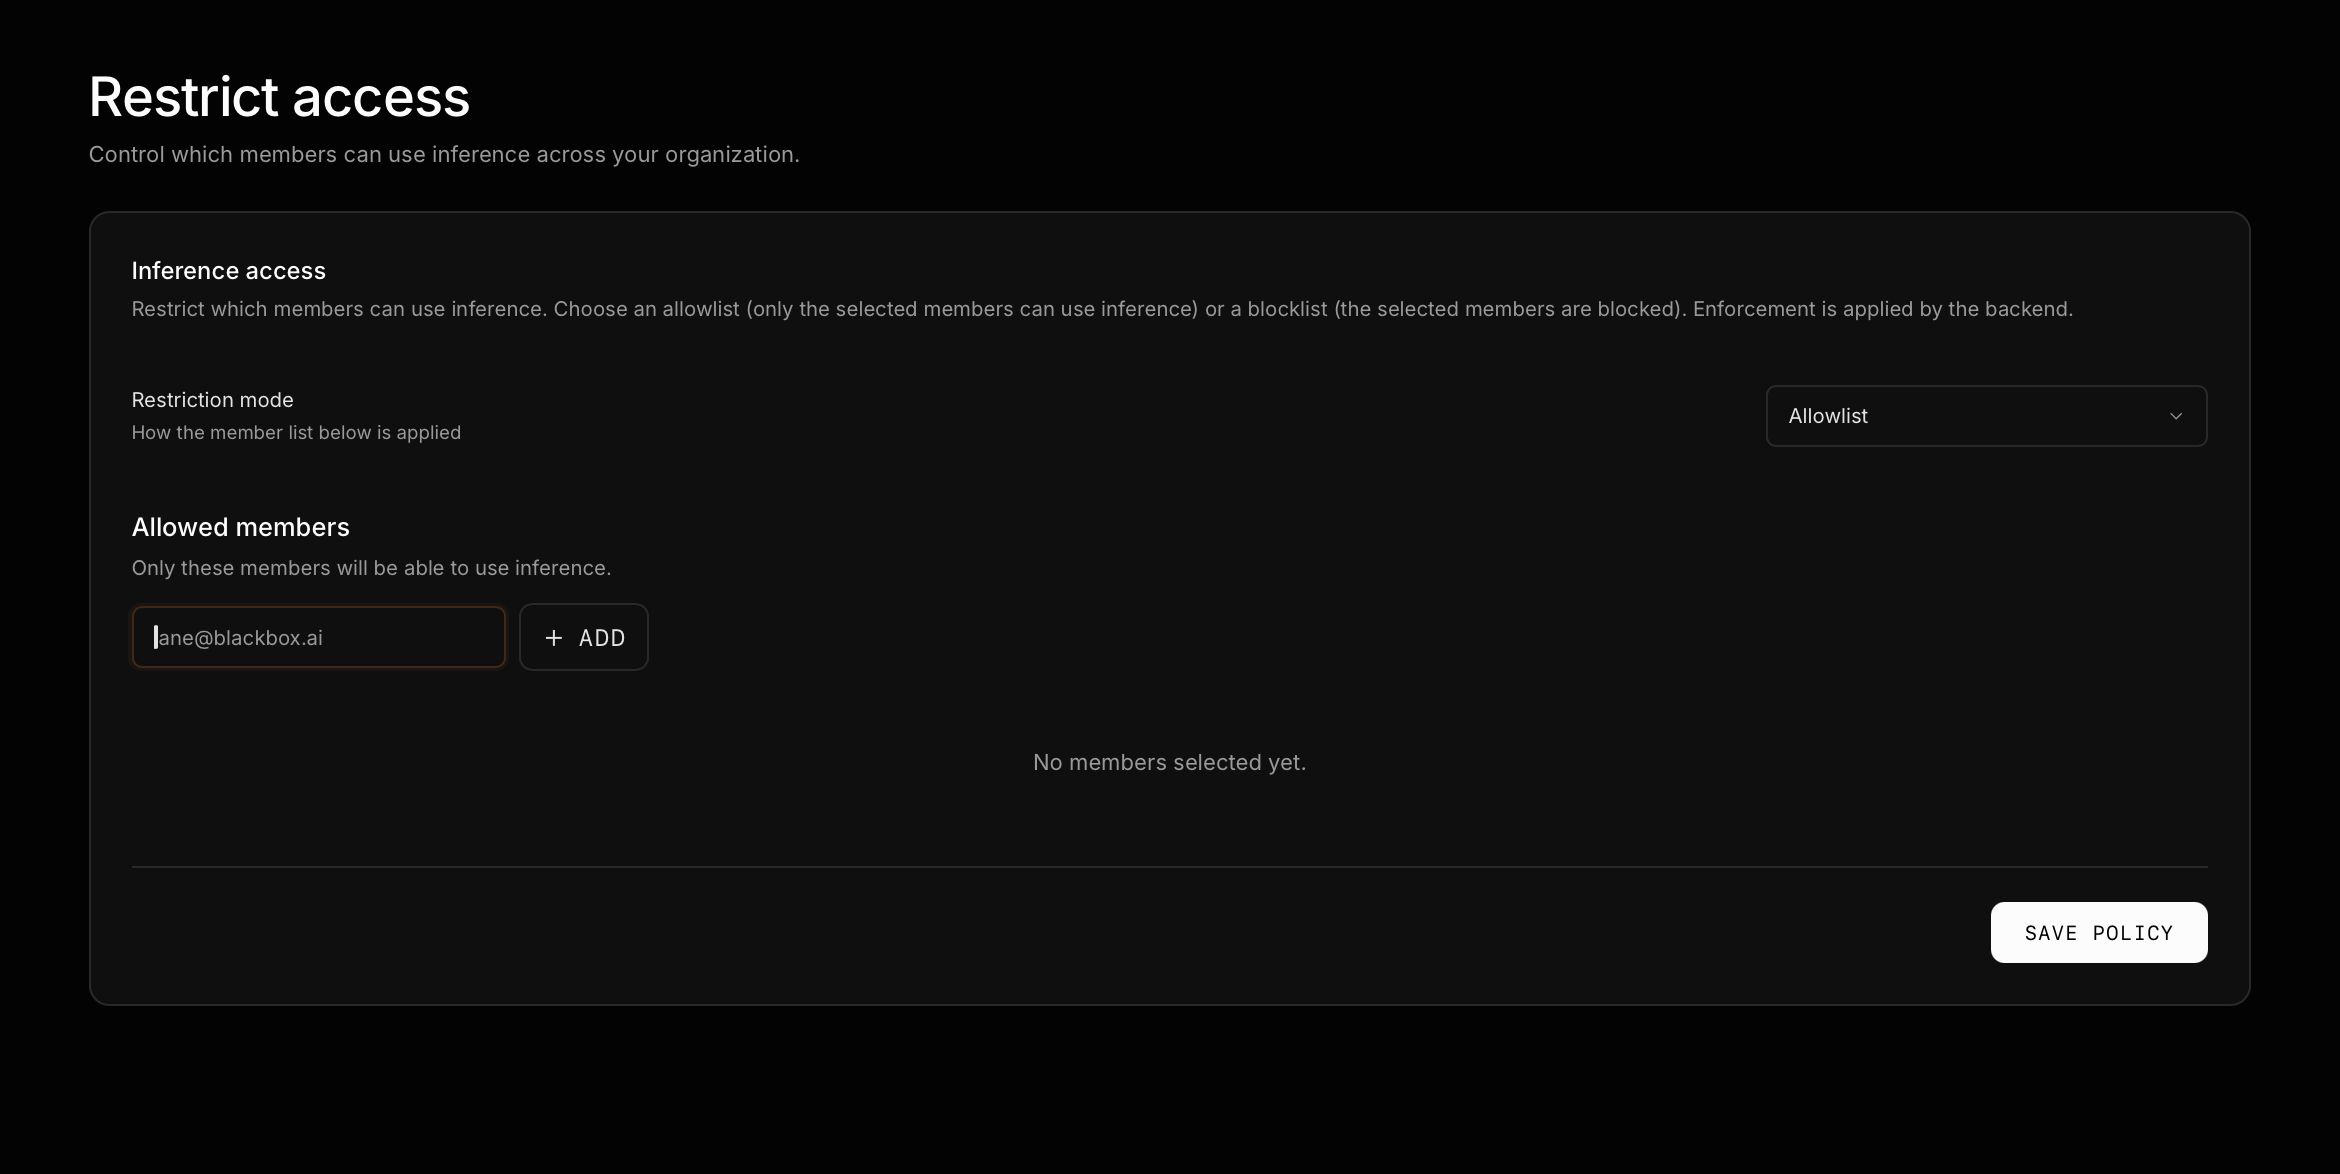
- Review the selected members, then click Save Policy.
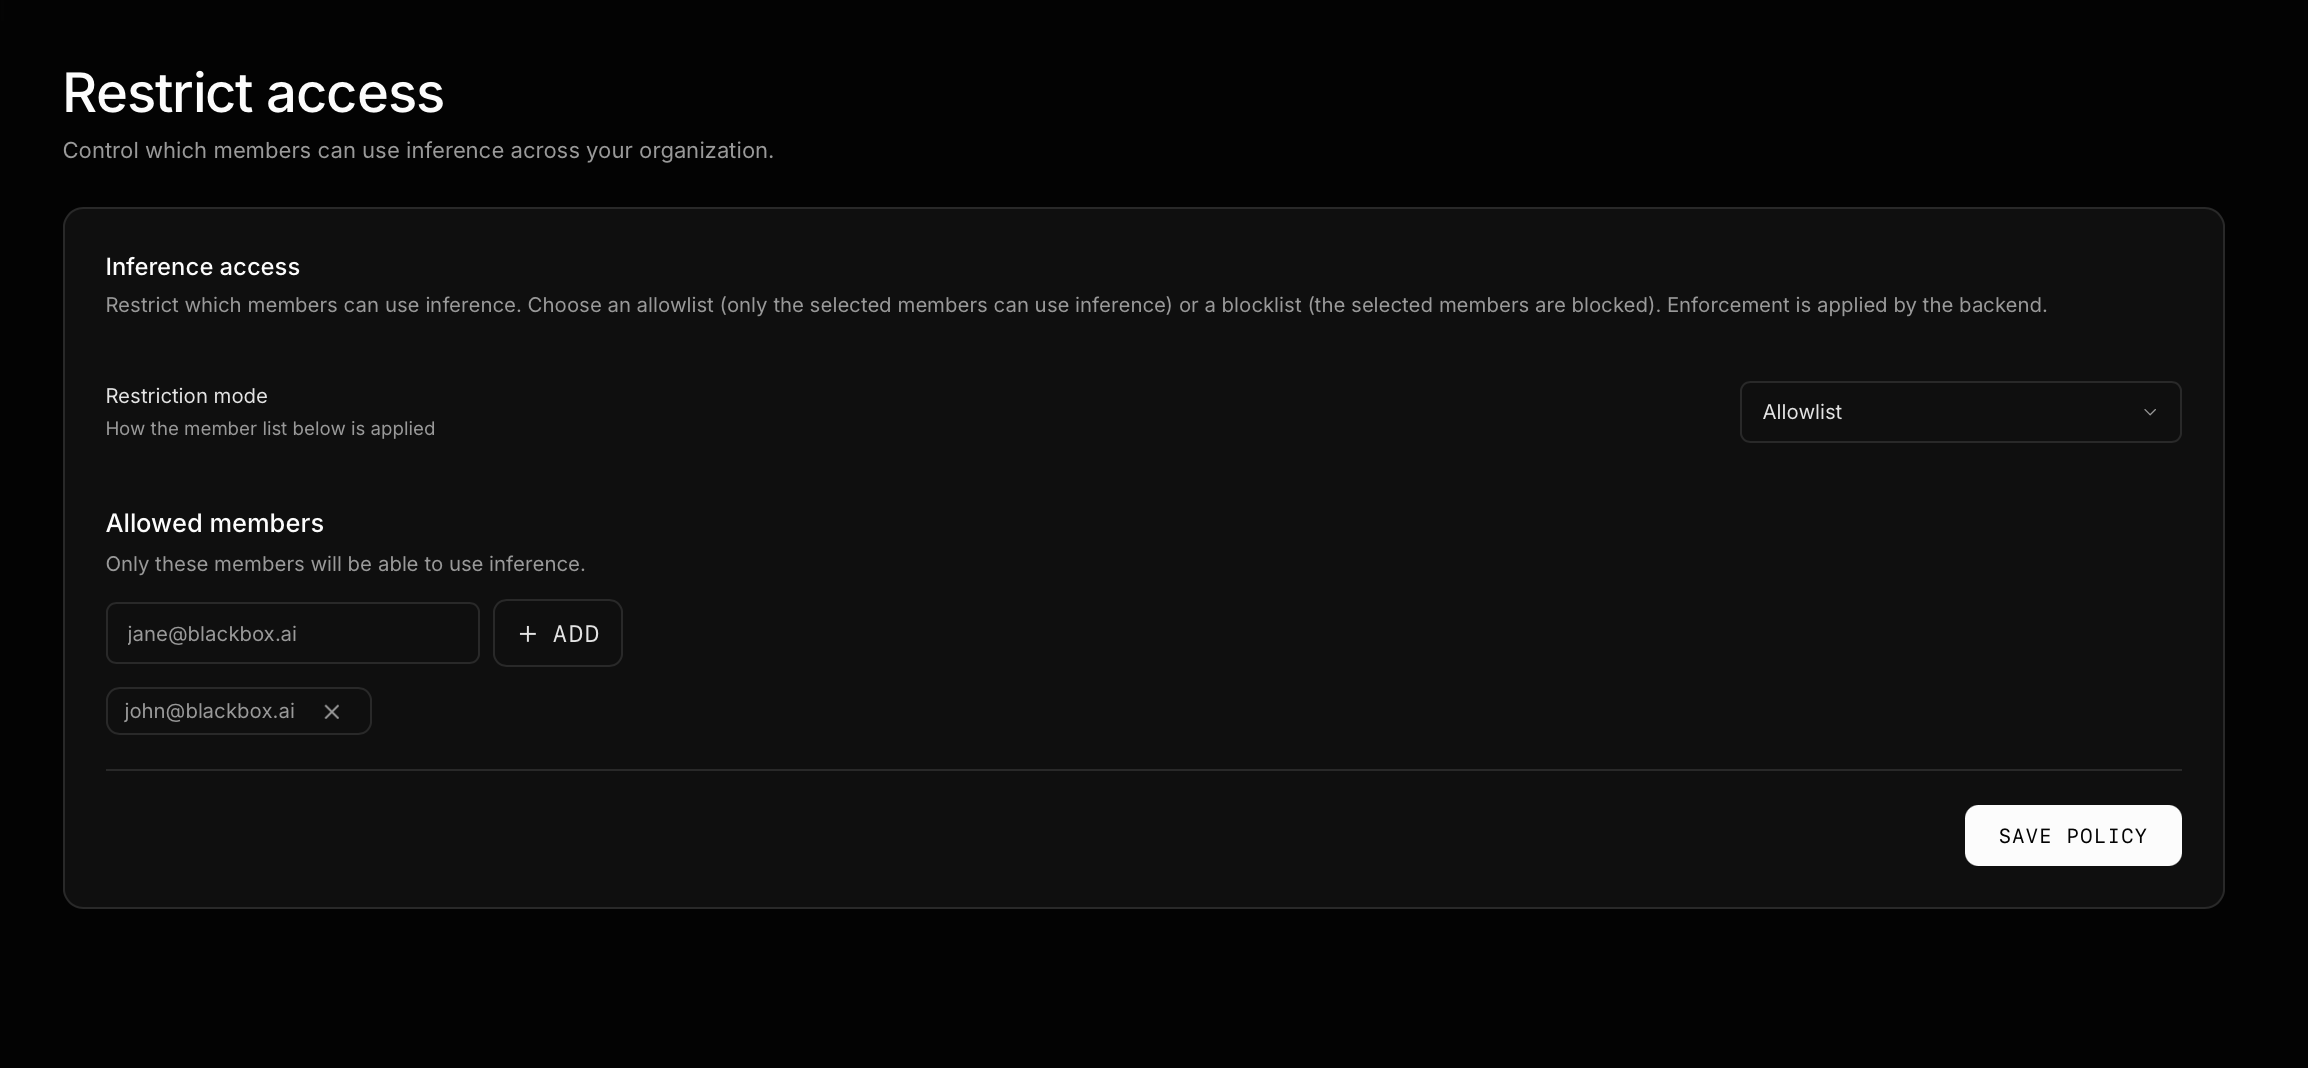
The policy applies to inference access across the organisation.
Next Steps
After setting up your organisation or joining one, you can start making requests to the enterprise API:
# Enterprise endpoint
https://enterprise.blackbox.ai/chat/completions
Use enterprise.blackbox.ai in your BLACKBOX AI integration, and use an organisation API key for authentication.
Your enterprise workspace is ready. Review the API Reference for available endpoints and parameters.